Getting started with Exodus Web3 Wallet || Browser Extension®
Step 1: Install the Exodus Web3 Wallet | Browser Extension®
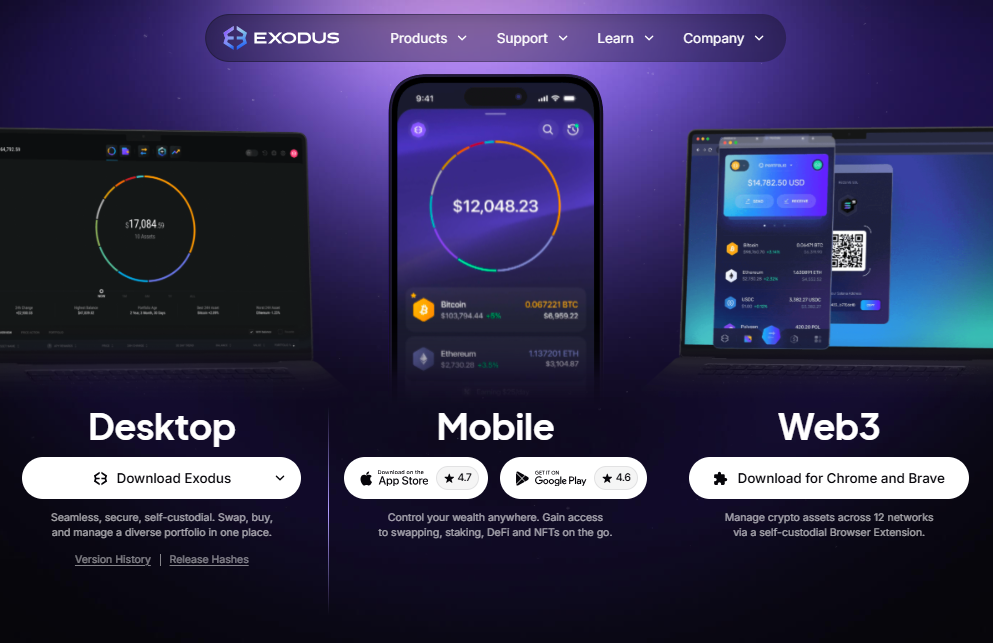
Begin your journey with the Exodus Web3 Wallet | Browser Extension® by downloading it from the official Exodus website. Ensure you are installing the legitimate extension to protect your assets and private keys.
- Visit the official Exodus website.
- Download the browser extension compatible with Chrome, Firefox, or Edge.
- Follow the installation prompts carefully.
Step 2: Create a New Wallet
After installation, you can set up a brand-new Exodus Web3 Wallet | Browser Extension®. This wallet will allow you to store cryptocurrencies, NFTs, and other Web3 assets safely.
- Click “Create New Wallet”.
- Set a strong password for encryption.
- Securely save your 12-word recovery phrase offline.
Step 3: Import an Existing Wallet
If you already have a wallet, you can import it into Exodus Web3 Wallet | Browser Extension® to manage all your assets in one place.
- Click “Import Wallet”.
- Enter your recovery phrase or private key carefully.
- Confirm your details and complete the setup.
Step 4: Explore Web3 Features
The Exodus Web3 Wallet | Browser Extension® gives you access to decentralized applications (dApps) and Web3 protocols directly from your browser.
- Connect to Ethereum, Binance Smart Chain, or other supported networks.
- Interact with dApps such as decentralized exchanges or NFT marketplaces.
- Monitor your portfolio with real-time updates.
Step 5: Security Tips for Exodus Web3 Wallet | Browser Extension®
Protecting your assets is crucial. Exodus Web3 Wallet | Browser Extension® ensures security, but these best practices help keep your funds safe.
- Never share your recovery phrase with anyone.
- Use hardware wallets for large balances.
- Enable browser security extensions and avoid public Wi-Fi.